Showing posts with label Clean and Simple. Show all posts

Sunday, September 6, 2015

National Stamping Month Blog Hop

Welcome to the National Stamping Month Blog Hop! If you've arrived from Lauren Moore's blog you are on the right track! This month CTMH consultants will be showcasing a variety of projects using any of the three Hello Life stamp sets available.

Each stamp set is designed to fit with a specific type of papercrafting, whether that’s traditional scrapbooking, cardmaking, or pocket scrapbooking. However, all the stamp sets coordinate with each other and can be used together to create dynamic artwork. These stamp sets also coordinate with shapes from the new Cricut® Artistry collection to help expand your artwork options even further. 


For my project I am using the Pocket Scrapbooking stamp set in a different way and showcasing it on a card! I really like clean and simple, one layer cards and have had this design on my mind for awhile. This is card went to my hubby for our recent anniversary but a quick color change and it could easily be used for Valentine's Day. 

Inspiration Dress
The color scheme was inspired by my daugther's dress. I love how inspiration can strike anywhere and in everyday items! Sometimes we just have to remember to open our eyes and look around. 

Thanks for checking out my project. I invite you to hop to Nikka's blog and see what she's created. Remember, these stamp sets are available for one month only, so get your orders in for one stamp set—or all three—before these gorgeous stamps disappear! To place your order for this stamp set, or any of the items used to make this card, please visit your consultant's site or visit my shopping website HERE.

Card Recipe:
1385 White Daisy Cardstock
Z2641 Glacier Ink
Z2105 Black Ink
Z1912 Corner Rounder
CC1042 Hello Life - Pocket Scrapbooking 
Z3041 Oceanside Sequins


For a complete list of hoppers please visit Melinda's blog. Thanks for stopping by and have a fantastic day!

~Michelle Battitori

Monday, January 12, 2015

Hello Card Tutorial

 This is a card I recently made with the January Stamp of the Month, This Moment! It's as clean and simple as can be and is perfect for using the last bit of your favorite paper! Here's how to make it:


1. Gather your supplies. I started with a 1" x 5 1/2" strip of Chalk It Up paper and pulled three coordinating ink colors (Flaxen, Lagoon, Sorbet).


2. Use a pencil and a ruler to lightly draw lines 1/4" from the top and bottom of the card front and then in 1" increments in the middle. You should have five 1" sections.

3. Stamp "Hello" in Flaxen Ink in first section. Move to the third spot and stamp "Hello" in Sorbet ink. Using 2nd generation stamping (i.e., don't re-ink your stamp before stamping) stamp again in the second position. Using Lagoon ink follow above in the fourth and fifth positions. Erase pencil marks

4.Punch a circle in bottom right of card front (my punch is 1 1/4"). Close card and trace circle on inside with a pencil.

5. Open card and stamp target image in Flaxen ink centering on traced circle. Erase pencil marks.

6. Punch 1 /4" hole in Sorbet Cardstock.

7. Use a scallop circle punch (mine is 1 1/2" I think) to create border around 1 1/4" circle.

8. Complete card and embellish! I used Extra Thick Twine and an Enamel Heart on mine.


Supplies Used (All CTMH Unless Otherwise Noted):
Paper: Chalk It Up
Ink: Flaxen, Lagoon, Sorbet
Stamp: This Moment (S1501)
Other: Enamel Hearts (Z2009), Extra Thick Twine (Z3036), Ruler, Circle Punch Scallop Punch (EK Success)

I'd love to see your version of this card! If you make one please leave a link to your post in the comment section!

~Michelle Battitori

Saturday, September 14, 2013

Clean & Simple You Are My Happy Card


I just can't get enough of the September stamp special, You Are My Happy! So, when I saw this weeks Freshly Made Sketch I instantly knew this was the card I was going to make. It's simple and sweet which is exactly what I wanted it to be. The one small piece of B&T paper comes from the Huntington Paper Pack...probably my favorite paper pack from the Autumn/Winter Idea Book

Thank you Freshly Made Sketches for your fantastic card sketches!

Supplies used (all CTMH unless otherwise noted): 
Paper: Crystal Blue Cardstock, Black Cardstock, White Daisy Cardstock, Huntington B&T
Stamps: You Are My Happy
Ink: Black, Barn Red, Creme Brulee
Other: Corner Rounder, Sparkles Assortment


Monday, July 23, 2012

Sympathy Card

Nobody likes making these types of cards, including me. But the unfortunate reality is we need to. And, in light of the recent events in Colorado I felt the need to make one today. For this card I used Freshly Made Sketch #44 as my inspiration.


I really like the simplicity of this sketch and felt like it was a perfect way to offer my condolences for this unfortunate situation.


Supplies used (all CTMH unless otherwise noted):
Paper: Amethyst Cardstock, White Daisy Cardstock
Stamps: Card Chatter-Sympathy, Simple Memories
Ink: Petal, Twilight
Other: 3D Foam Tape, 5/8" Organdy Ribbon with Satin Edge

Inspiration Sketch:

Wednesday, March 21, 2012

Use Your Stash Hop - Dimensional Elements


WELCOME! If you are joining us for the "Use Your Stash Blog Hop" you are right on track. This month we are featuring Chipboard or Dimensional Elements.  You should be coming from Joy's Blog. If you get lost along the way you can see the entire list of hoppers on Rachel's Blog. Let's get started.


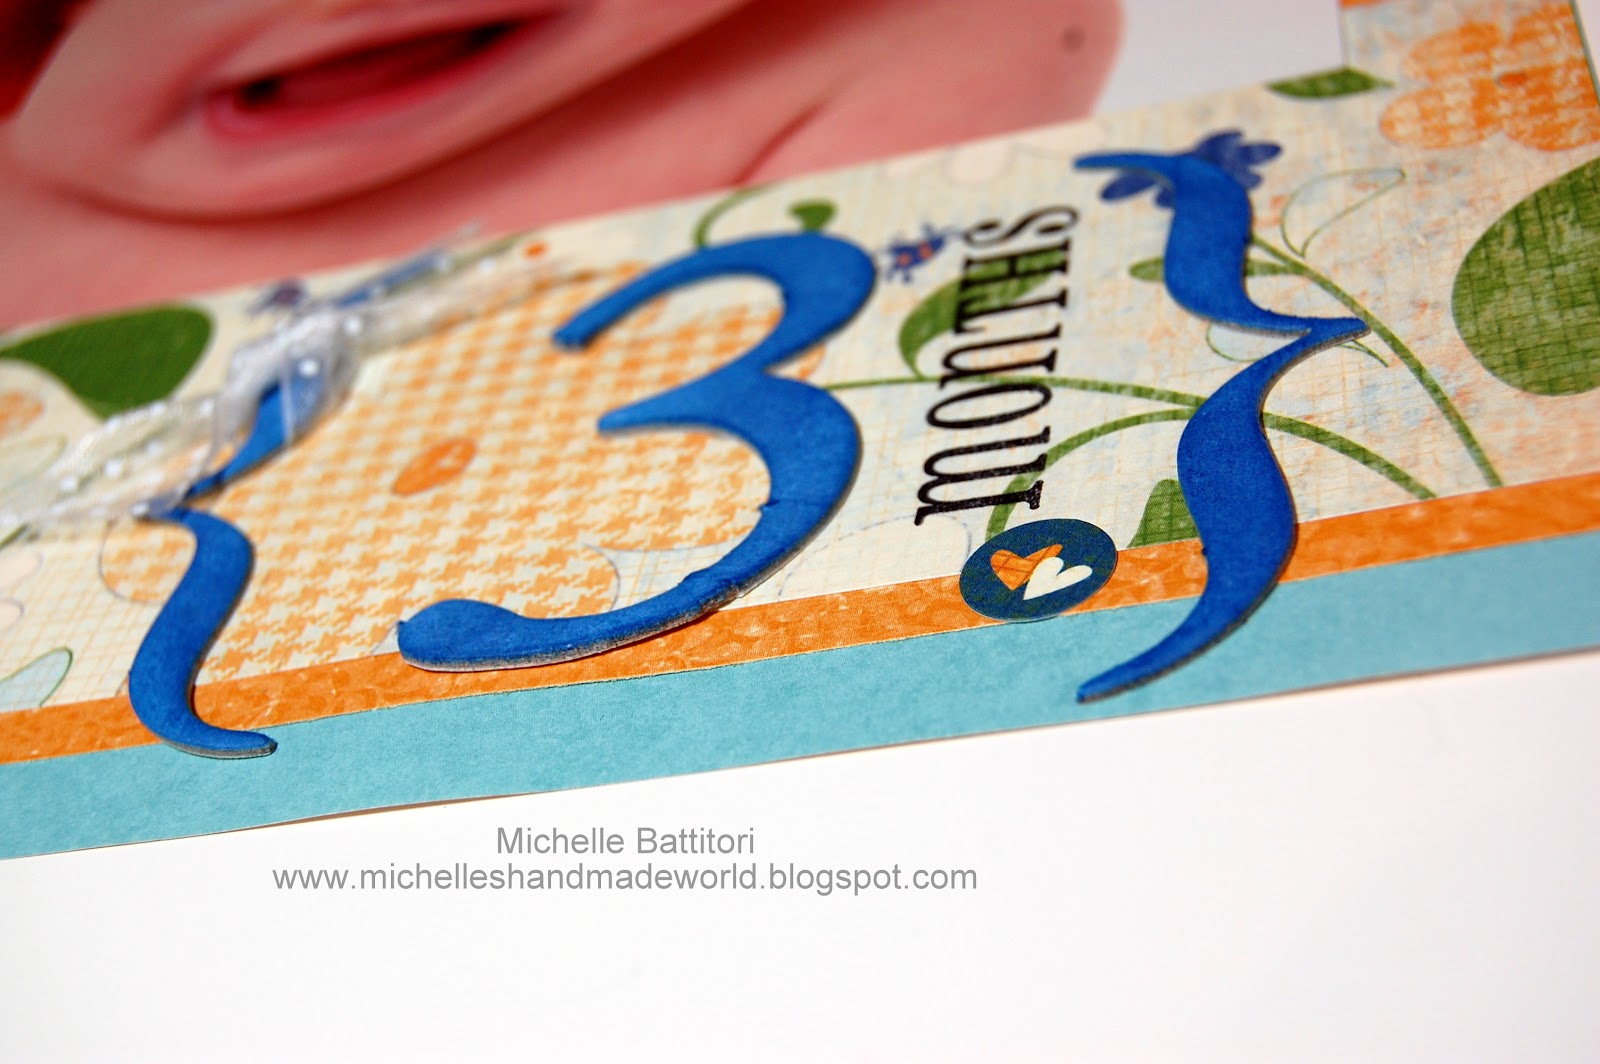
Today I'm working on my youngest's first year album (he is now 2). I love this photo of him and wanted the focus of this layout to be on that. Of course I needed some dimension so to achieve that I used some of CTMH's Dimensional Elements to create a title. 

Supplies used (all CTMH unless otherwise noted): 
Paper: Splendor B&T (retired)
Stamps: alphabet
Ink: Moonstruck, black
Other: Dimensional Elements Numbers, Ribbon, Splendor MyStickease, Scallop Border Punch (SU)


Chipboard generally comes in either a brown or white color. I used my ink pad to change the color to match it to the blue in the background paper. There are several ways to ink your chipboard shapes...you can stamp, sponge, spray...the choices are pretty much limited to your imagination. For this layout I opted to place the shapes face down on my ink pad and lightly push the backside into the ink. It's an easy way to get all over coverage quickly. To smooth it out I did take a sponge and go over the top. Simple. Easy. Quick. Just the way I like it!

Now hop on over to Bethany's Blog for more ideas of using up your stash


Wednesday, January 11, 2012

Clean and Simple Cards Day 1

I recently signed up for an on-line card class to sharpen my clean and simple card skills. The teachers are fabulous and the ideas are AMAZING!


Day's 1 class was about sketches. I loved the square sketch they provided and decided to make some baby cards (there are 3 neighbors on my street due within the next month or two so this is perfect prep)!


I went monochromatic for each card which I thought gave it a nice soft feel for the baby cards. The sentiment came from the January SOTM, Little Reminder.


I used my piercing ruler and tool to create faux stitching lines. This helps to define the stamped area and offer a bit of contrast.


Do you have a favorite color? Out of the three I think the pink is my favorite although green is very close too.

Supplies used (all CTMH unless otherwise noted): 
Paper: Pastels (American Crafts)
Stamps: Rock The Block, January SOTM
Ink: Grey Flannel, Sweet Leaf, Buttercup, Blush, Grey Flannel Marker
Other: Piercing Tool, Ruler, 3D Foam Tape, Baby Embellishments (Michael's)